
How To Prep For Your Session
A little preparation helps you arrive feeling comfortable and confident. You don’t need to know how to pose or have every detail figured out—we’ll work through the choices together.
Yes, this old cliché is increasingly more relevant in today’s high-speed digital world where the amount of time spent on social networking sites has created "first impression" opportunities than ever before. It seems like we are shaking fewer hands with even a greater decline in eye contact; enter the necessary professional portrait. More and more people are coming to capture that all-important professional pose. This increased demand isn’t only for the company website or for job seekers. It’s interest comes from representing that individual to the world via social media.
Before your session, we’ll have a short phone call about where you’ll use your photographs, the impression you want to make, and any concerns you have. Your session includes wardrobe guidance, so you’ll have help choosing what to bring.

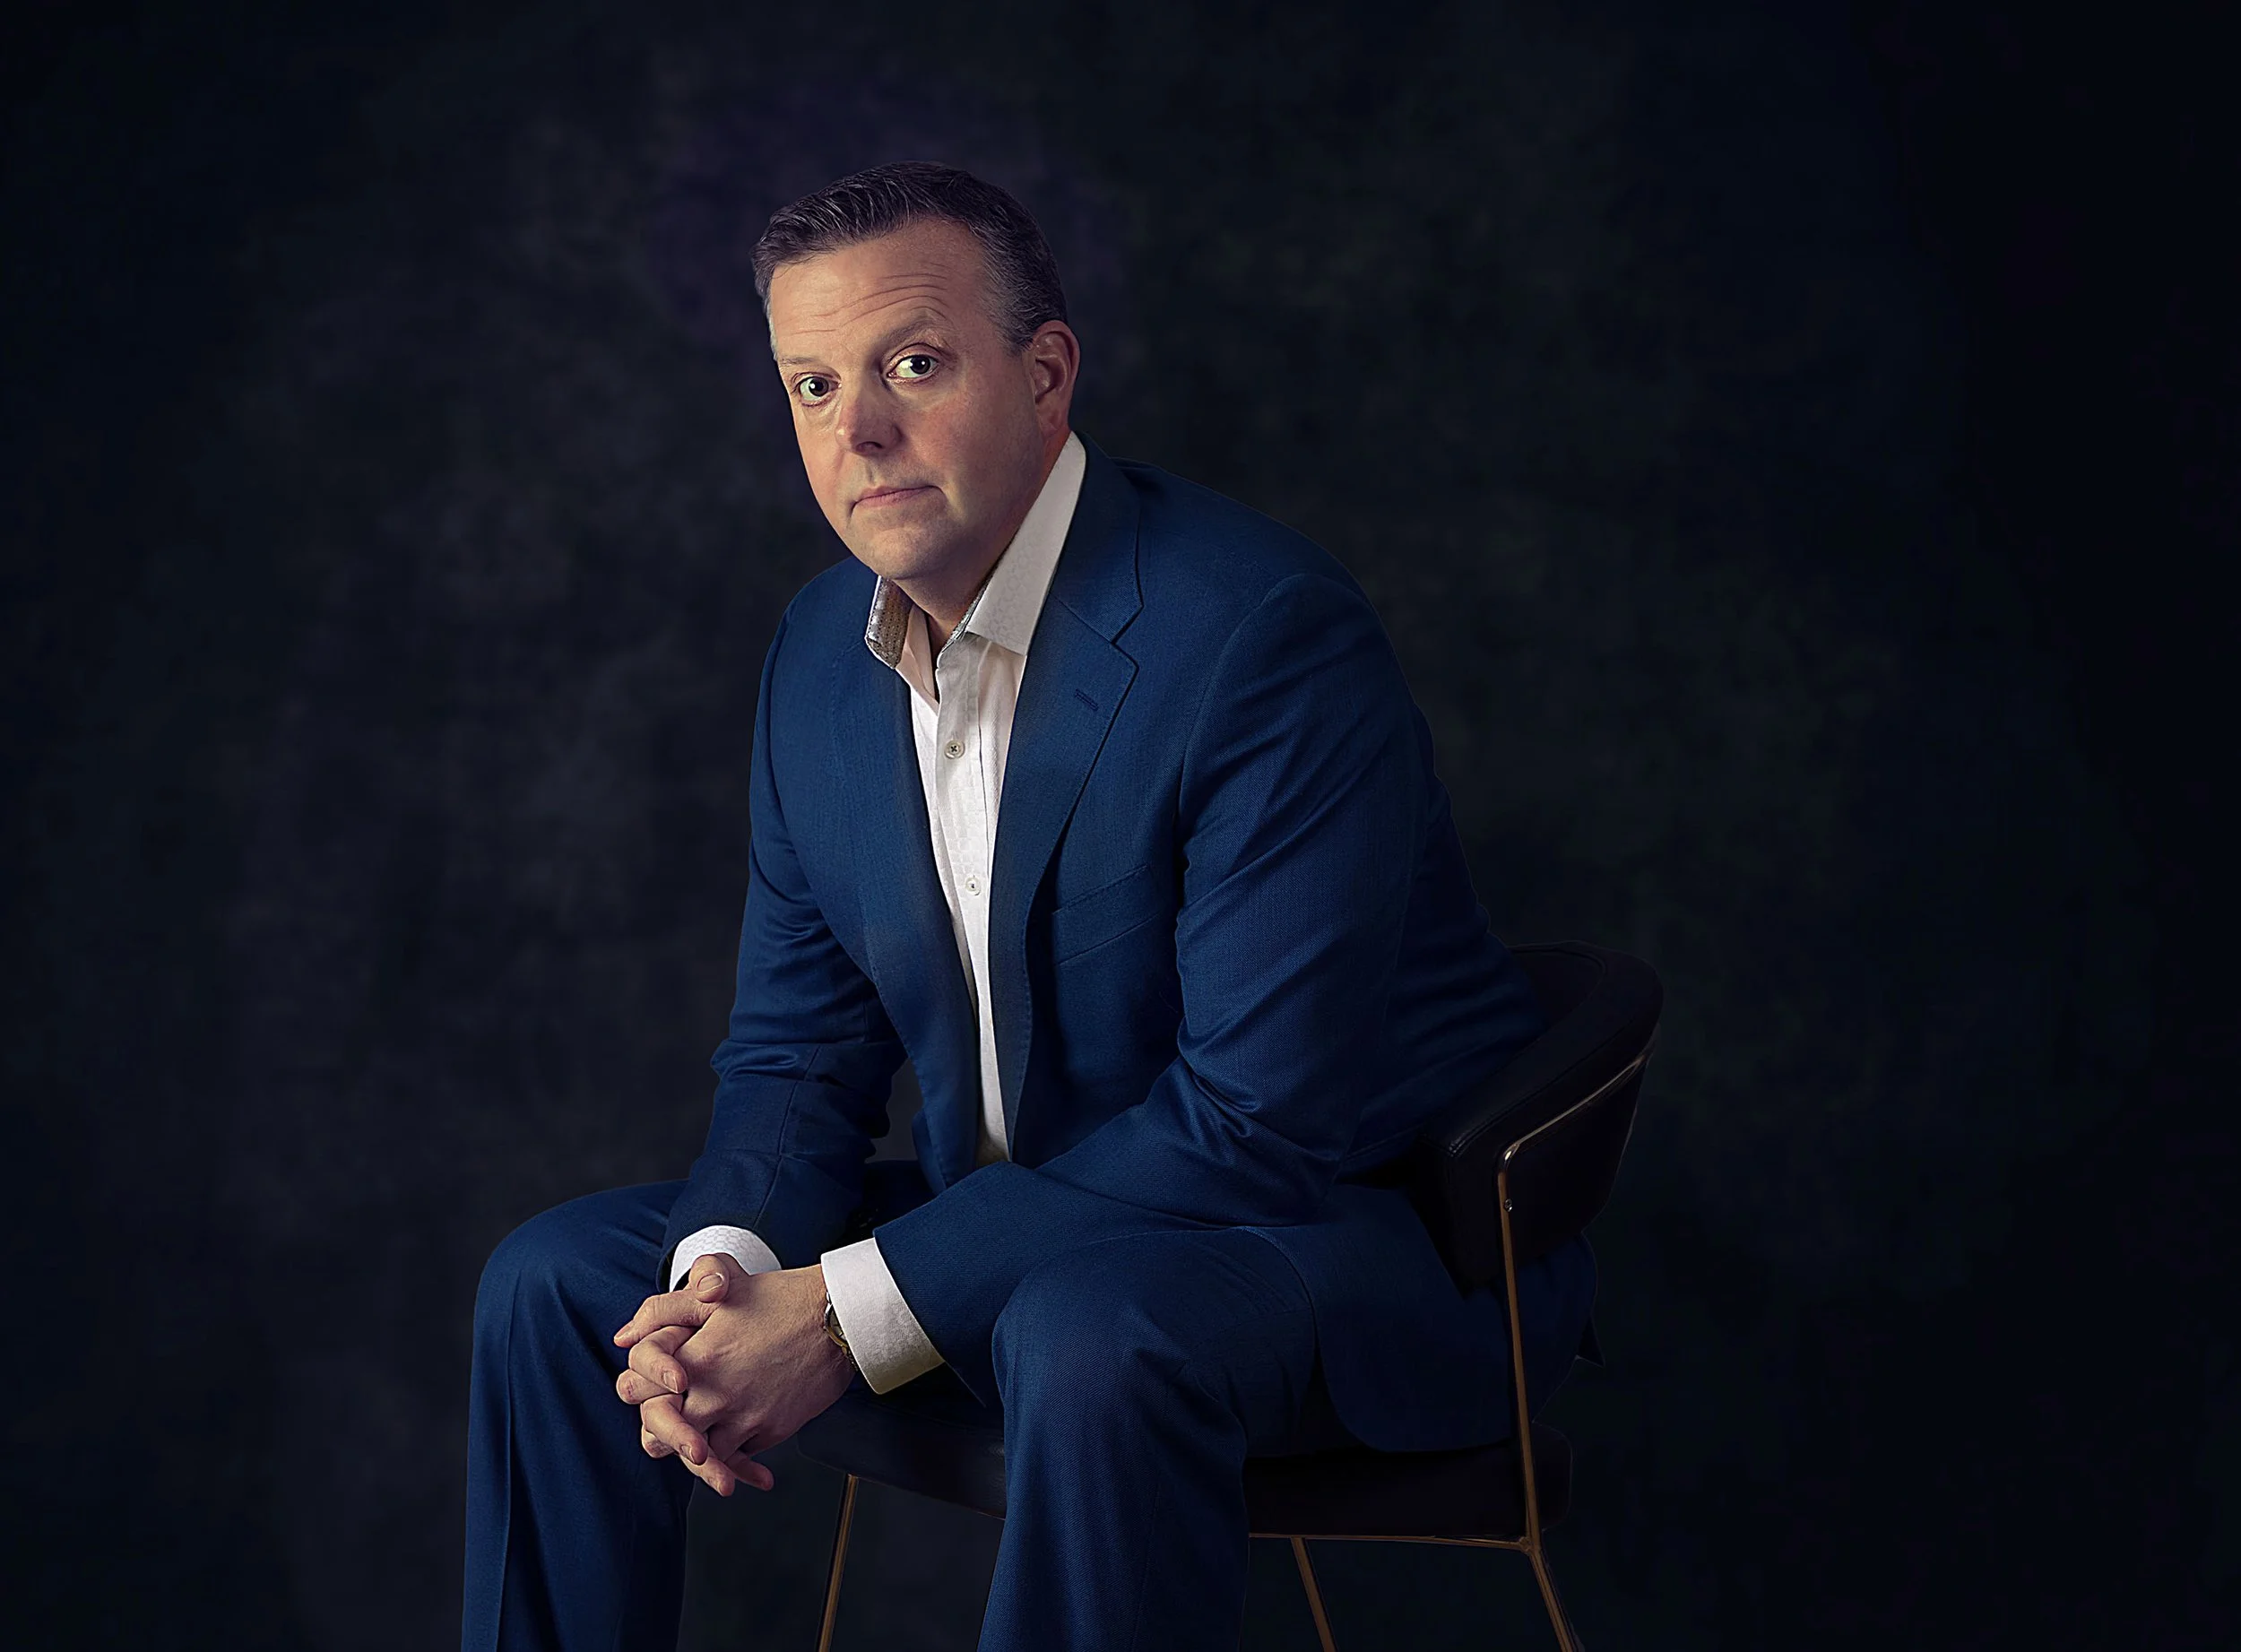

Start with where your headshot will be used
Is your photograph for LinkedIn, a company website, a speaking engagement, or a press announcement? Tell me where it needs to work and what you want people to feel when they see it.
If your company has an established photography style, send an example and any requirements for background, framing, or image dimensions. My background in commercial photography and art direction helps me plan the wardrobe, lighting, and composition around those needs.
What is the brand you want to project with your professional portraits? In other words, what is the impression you want to make? To help you formulate an answer, consider these questions:
Has your company set a brand standard already? Bring an example of your company’s photos so that your photographer creates the same look.
What tone are you trying to express with the photo? Corporate? Serious? Approachable?
Who is your primary audience? Other professionals and businesses or consumers? Or both?
The Night Before:
Stay hydrated in the days leading up to your headshot session.
Get plenty of sleep to minimize dark circles under your eyes on the day of your shoot.
Choose colors that suit you and your purpose:
Opt for darker hues compared to your skin tone to keep the focus on your face, though exceptions exist.
Recommended colors include black, earthy tones, grey, and neutral shades.
Rich colors like navy, blue, burnt orange, and green can make your headshots pop.
If you know your best color palette, bring options in those shades or try hues that complement your eyes and skin tone.
Avoid overpowering colors like bold red or bright pink, as they can distract from your face.
Patterns:
Stick to solid colors as patterns can divert attention from your face.
Avoid clothing with loud or distracting graphics to ensure the focus remains on you.
Fit:
Try on your outfit at least a week before your session to ensure the best fit.
Well-fitted clothes are most flattering; avoid anything too baggy or tight.
Take photos or seek honest feedback from friends to assess how your outfit looks.
Bring one or two planned looks:
Your one-hour studio session allows for one or two wardrobe looks. If you want variety, consider one more formal outfit and one more relaxed option, depending on how you’ll use the photographs.
Your quick preparation checklist
Choose one or two outfits and check the fit.
Bring clothes clean, pressed, and on hangers.
Bring your glasses if you normally wear them, with lenses cleaned.
Style your hair in a familiar way and groom facial hair as usual.
If you wear makeup, aim for a professional version of your usual look.
Avoid experimenting with unfamiliar hair or skincare products immediately before the session.
Bring any touch-up items you normally use.
Allow enough travel time to arrive without rushing.
You don’t need to rehearse poses or force a smile. I’ll guide you through the session, and we’ll review images together as we shoot.